Welcome to our review of the best wood finishes! We’ll get into the reviews of our top 4 wood finishes a bit further down this article, but first, let’s discuss why you might need a wood finish in the first place.
Contents
Wood Finishes – Introduction
Once the carpentry on your project has been completed, you still need to use wood finishes.
Finishing in woodworking terms means applying a coating to the surface of the wood that brings out its true beauty while protecting and nurturing the timber itself.
There are several finishes for wood that are popular with handymen but before they can be applied preparation is needed.
Sanding and Fillers Tips
Your project will need careful sanding and in some cases could use some preservatives like green copper before applying any wood finishes.
Before sanding, examine any joints and run your fingers over every surface.
You will feel any dents, nicks and, maybe, a joint that doesn’t fit quite as well as you had hoped.
Wood fillers are ideal for such situations.
Choose a filler that can be stained if need be and covered with whatever finish you are using on the wood without reacting adversely with it.
The filler should be applied in thin layers and allowed to harden between applications. Lightly sand before adding the next layer.
Once you are satisfied that the surface is absolutely smooth you are ready for the final wood finish.
Wood Finishes Guide
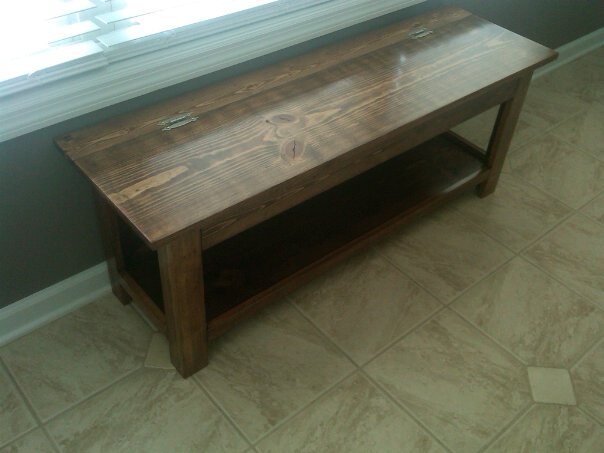
Wood stains come in many colors and are quick and easy to apply.
Whether you use a brush or a clean rag when using wood finishes is a personal choice but always stain along the grain.
If you want a lighter stain, wipe it off quickly or, for a deeper color, leave it on for a few minutes.
Wood staining only changes the wood color and does not provide any protection for the wood.
You will need to coat the stained wood with a varnish or sealant for this purpose.
There are some wood stains that combine coloring and varnish for a one coat finish.
READ NEXT: Best Scroll Saws Buying Guide and Reviews
How To Polish Wood
Polishing is one of the best wood finishes to give your work a professional appearance.
To get a great shiny look, you need to cover the wood with a transparent layer that dries very hard.
Shellac, lacquer or polyurethane are the three most commonly used.
The first two are more specialized, so many woodworkers opt for polyurethane.
The secret for obtaining the best finish is to apply many thin coats of wood finishes, lightly sanding with fine sandpaper between each coat.
The polyurethane must be completely dry before you give it the final polish.
That may take a few weeks depending on the ambient temperature.
When dry, use increasingly fine wet and dry sandpaper to get a perfectly smooth surface, completing the task by buffing hard with a fine-cut cleaner.
Finally, you can then add a coat of wax to get a stunning glossy finish you can be proud of.
Wood Finishes Tips
Wood finishes use techniques are an important part of any carpentry project.
Wood finishes are useful for hiding blemishes or mistakes.
The best wood stain enhances the color and the grain of the timber.
Polyurethane or varnish can be used to add a protective layer.
Few things add class to a room better than polished wood.
Spending time and effort on the final wood finishing will lift your work from good to excellent.
READ NEXT: Best Framing Nailers Buying Guide
The 4 Best Wood Finishes Are:
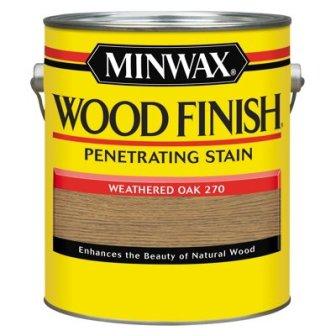
- Minwax 71047 Gallon With Oak Wood Finish
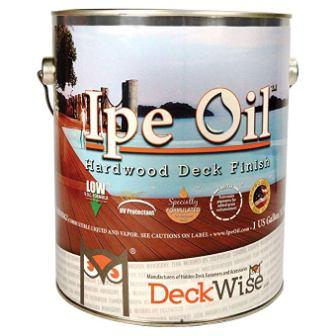
- DeckWise Ipe Oil Hardwood Deck Finish
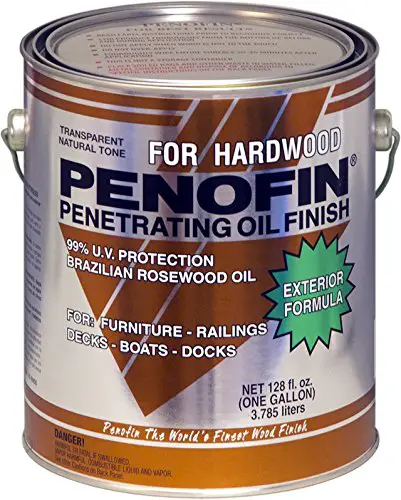
- Penofin Deep Penetrating Oil Treatment
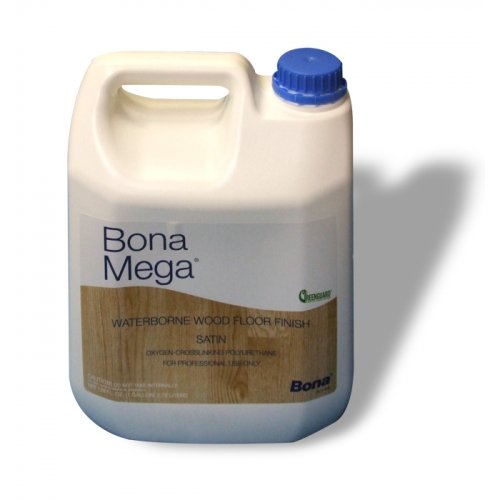
- Bona Mega Wood Floor Finish Gloss
These are the top wood finishes available in the market today. Now we will get into the detailed reviews and pros and cons of each one of them below!
Minwax 71047 Gallon With Oak Wood Finish
I’m doing a couple ventures that include discovering old weathered wood, sanding it, working on projects like fruit containers, and recoloring it.
Since I’m utilizing old timber, I need to keep a specific natural feel to my activities.
These finishes do just the thing. It’s dim, however not very dim. It appears to have some soft cooler shades in the calidness, which assists with character.
At last, it ended up being exactly what I was searching for. For reference, here was my method.
I sanded with a hand sander with 100 coarseness to dispose of the dark part of the wood.
At that point, I hand sanded with 150 coarseness to expel a portion of the swirls from the hand sander.
I passed over the dust with a power blower.
At that point, I recolored with the grain with a brush.
I didn’t take anything off or utilize prestain (I needed natural, not great). I let dry for 24 hours, then hand sanded with 220 gits to dispose of the sparkle.
The after effect of this procedure left me with an incredible shading and pleasant looking grain.
DeckWise Ipe Oil Hardwood Deck Finish
For starters, this item works great on my woodworking projects.
It covers pleasantly and has a slight luminosity that looks truly delightful.
You have to be aware that the can state the danger of sudden ignition, and let me let you know …. Pay consideration on the notice.
I completed half of my deck and needed to stop for a couple of days.
I had been utilizing a cloth to tease the oil and an old sponge to wipe off the residue.
This procedure works awesome and you can move on rapidly.
I had left the cloth and the sponge on a glass table in the yard of my house.
After a couple of hours, my neighbor that something was burning. I run outside to the yard and see the cloth was totally on fire.
Fortunately, I could put it out before any serious damage happen.
I’ve generally known about sudden ignition, and never leave clothes in my storage.
I figure I didn’t feel that it could happen out in the open on a cool breezy night. How wrong I was.
I shiver to think what might have happened in the event that we were not at home.
This is an incredible item, yet please pays consideration to this bit of advice.
Penofin Deep Penetrating Oil Treatment
I’ve utilized this wood finishes outdoor for a long time and I am a big fan.
I just advised a friend to use it and his really old wall looks new once more!
I let him know that mine endured 15 years on a really harsh weather.
I love the transparent natural color because allows the natural color of the wood to stand out.
Exceptionally exquisite looking. I’ve brushed and rolled and splashed it. I think moving it on is the quickest.
Ensure and off zones that you don’t need showering with stain.
I committed that error really and it dribbled on some bullnose smooth block that topped a holding divider before the wall.
I was kicking myself, yet then I just rolled the stain on the block and amazingly it turned out superbly!
The blocks tackled a rich natural wood look that seemed like I fixed them!
So amusing that everything worked out. So I’m truly content with this stuff.
I have another wall that I’ve endured till it dried (the wood these days is SO wet) to recolor.
I’ll be utilizing this stuff to make it pop.
Bona Mega Wood Floor Finish Gloss
Incredible Product, dries quick (utilize a T-Bar to deal with the puddle and get it on quick, particularly in bigger rooms or it will get tasteless before you return to the opposite side).
All things considered, once it has set up, in my opinion it takes more time to completely shrivel/mongrel than 2 days so on the off chance that you are sanding in the middle of coats, it is best not to put on excessively numerous coats too quick or it will be difficult to get a mirror complete.
Additionally, utilizing gleam it is best to sand uncovered wood to 220 and 320 between coats or you will see the scratches come through when it completely cures… with one Mega groundwork coat sanded.
Two customary Mega shine coats to develop. 45/hr separated and a decent sanding 48/hr after that, and the last coat with Mega Gloss + Mega hardener, it took a month for it to get adequately hard for my nail not to effectively imprint the covering.
Shine is most likely not for everybody, as you effortlessly see any defects or earth on the floor, be that as it may, it looks stunning and you can see the delightful wood grain plainly from any point, not at all like glossy silks completes that mirror the light so you can’t see the full magnificence and shading because of the fine silica that usually gives the silk wrap up…
I anticipate giving the present coats a chance to dry and the floor breath, extend and contract for a year and return and sand/screen with 320 and put on another layer of gleam with the additional hardener for a mirror-like completion.
READ NEXT: Green Copper Buying Guide and Reviews
Best Wood Finishes – Conclusion
We hope you’ve enjoyed our review of the best wood finishes available for purchase today!
Wood finishes are a beautiful final touch to any woodworking project. They bring out the natural colour of the wood and seal it from any moisture or pests that may damage it.
Overall, wood finishes are a worthwhile investment and important addition to any wooden DIY home project.

About The Author: Hi There! I’m Dave. I’m a certified millworker and carpenter, and have been working in the industry for over 10 years. I created this website to pass on my knowledge so that other enthusiasts, no matter what their skill level, can enjoy the craft as much as I do. I hope you enjoy!

