
Welcome to my article on Wood Carving For Beginners: A Step-by-Step Guide.
Wood carving’s function is to create beauty. It can vary from a simple, lightly whittled stick to an elaborate relief or ornate masterpiece.

Here, we will explore the wonderful world of enhancing the natural beauty of wood using tools and our step-by-step guide to make the process as easy as possible.
So, please set up your piece of wood and begin creating something beautiful using your carving chisels, knives, and gouges.
Contents
The Best Wood Carving Safety Tips for Beginners
- Before we get going, let’s count fingers and ensure we get to ten. A pair of wood carving gloves will go some way in protecting your hands from painful nicks and cuts.
In addition, if you keep your fingers behind the cutting edge, you will be safe, but there are a couple of elements you have to keep in mind. - I know it sounds wrong, but honestly, sharper tools are safer. It takes less pressure to cut with a sharp blade, and in our situation, less pressure supports a more accurate cut.
So, make it part of your opening routine to check the sharpness of your carving tools and pay close attention to keeping them sharp. - Many wood carvers favour working in a sitting position with the workpiece in their laps.
If you prefer this position, please place a board on your lap to prevent the sharp end of the chisel from burying itself in sensitive areas.
How To Select The Best Wood For Your Wood Carving Project
Hardwoods are great for carving. Rich grains and the ability to hold delicate details make them the choice for experienced carvers, but here we are only beginning.
So let’s keep it easy and select an appropriate soft wood that will ensure the successful completion of our project.
There are a couple of timber species to choose from to start your carving project. Woods like Aspen, White Beech, and Basswood are great, but if you can get a piece of Jelutong, grab it.
Jelutong is one of those strange woods like Balsa that are soft but are categorized as Hardwoods.
The Best 4 Wood Carving Techniques:
Although there are common tools for the different carving styles, the techniques are very different.
Whittling
This is done primarily with a knife and, in more basic times, a simple pocketknife. Walking sticks are a prime example of whittled objects with designs incorporated into the stock or handle.
Carving in the Round
Here, a life-like rendition of an object is fashioned using various carving tools.
The object is fashioned to be viewed from all sides and is usually a scale model of the original subject.
Chip Carving
Chip Carving is a more straightforward form of relief carving in that only two surfaces are produced.
Using a chip knife to remove material from the surface of the wood, geometric shapes and designs are created to add interest and beauty to items like jewellery boxes and plates.
Relief Carving
Here, the image is created on the front side of the wood with the back remaining flat.
The image is created by removing stock from the surface with various knives and gouges to create an image in relief.
The finished item is usually hung in a vertical position on a wall.
How To Choose Your First Wood Carving Project
First-time carving projects need to be relatively simple and able to be completed in a short time.
When you start, your arms and fingers tire quickly, so a one- or two-hour project would be ideal.
I would recommend something like a spoon or a salad serving set as a good introduction.
These items can be simple or complex, so start with the simple design, and once you have gained a little confidence, you can always raise the bar a little and embellish the items.
Marking out the design
Use a pencil to mark out the item you wish to carve. A centre line is a helpful guide to keep things symmetrical.
Measure the outline of your object from the centre line, and you won’t go wrong.
Don’t forget you will occasionally have to redraw the line as you remove wood to create the object.
Planning your cuts to ensure that the majority will be made with the grain will make your carving experience much easier.
So, have a good look at the wood and keep in mind the direction of the grain.
Now that you have everything ready let’s go through what the various knives and chisels are designed to do.
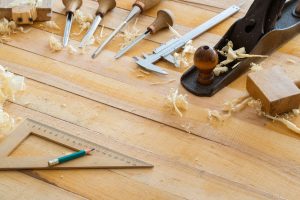
What Are The Best Wood Carving Tools
Wood carving tools are divided roughly into three categories.
The straight knives and chisels, gouges and bowl cutters, and ‘V’ tools, also sometimes called Veiner tools.
Carving Knives
Carving knives are available in an almost endless array of shapes and sizes.
The simpler and smaller knives should be adequate for the first couple of projects, especially if you will be whittling to gain confidence.
Remember to keep the knife sharp and wear gloves to protect your fingers as you develop your skill and confidence.
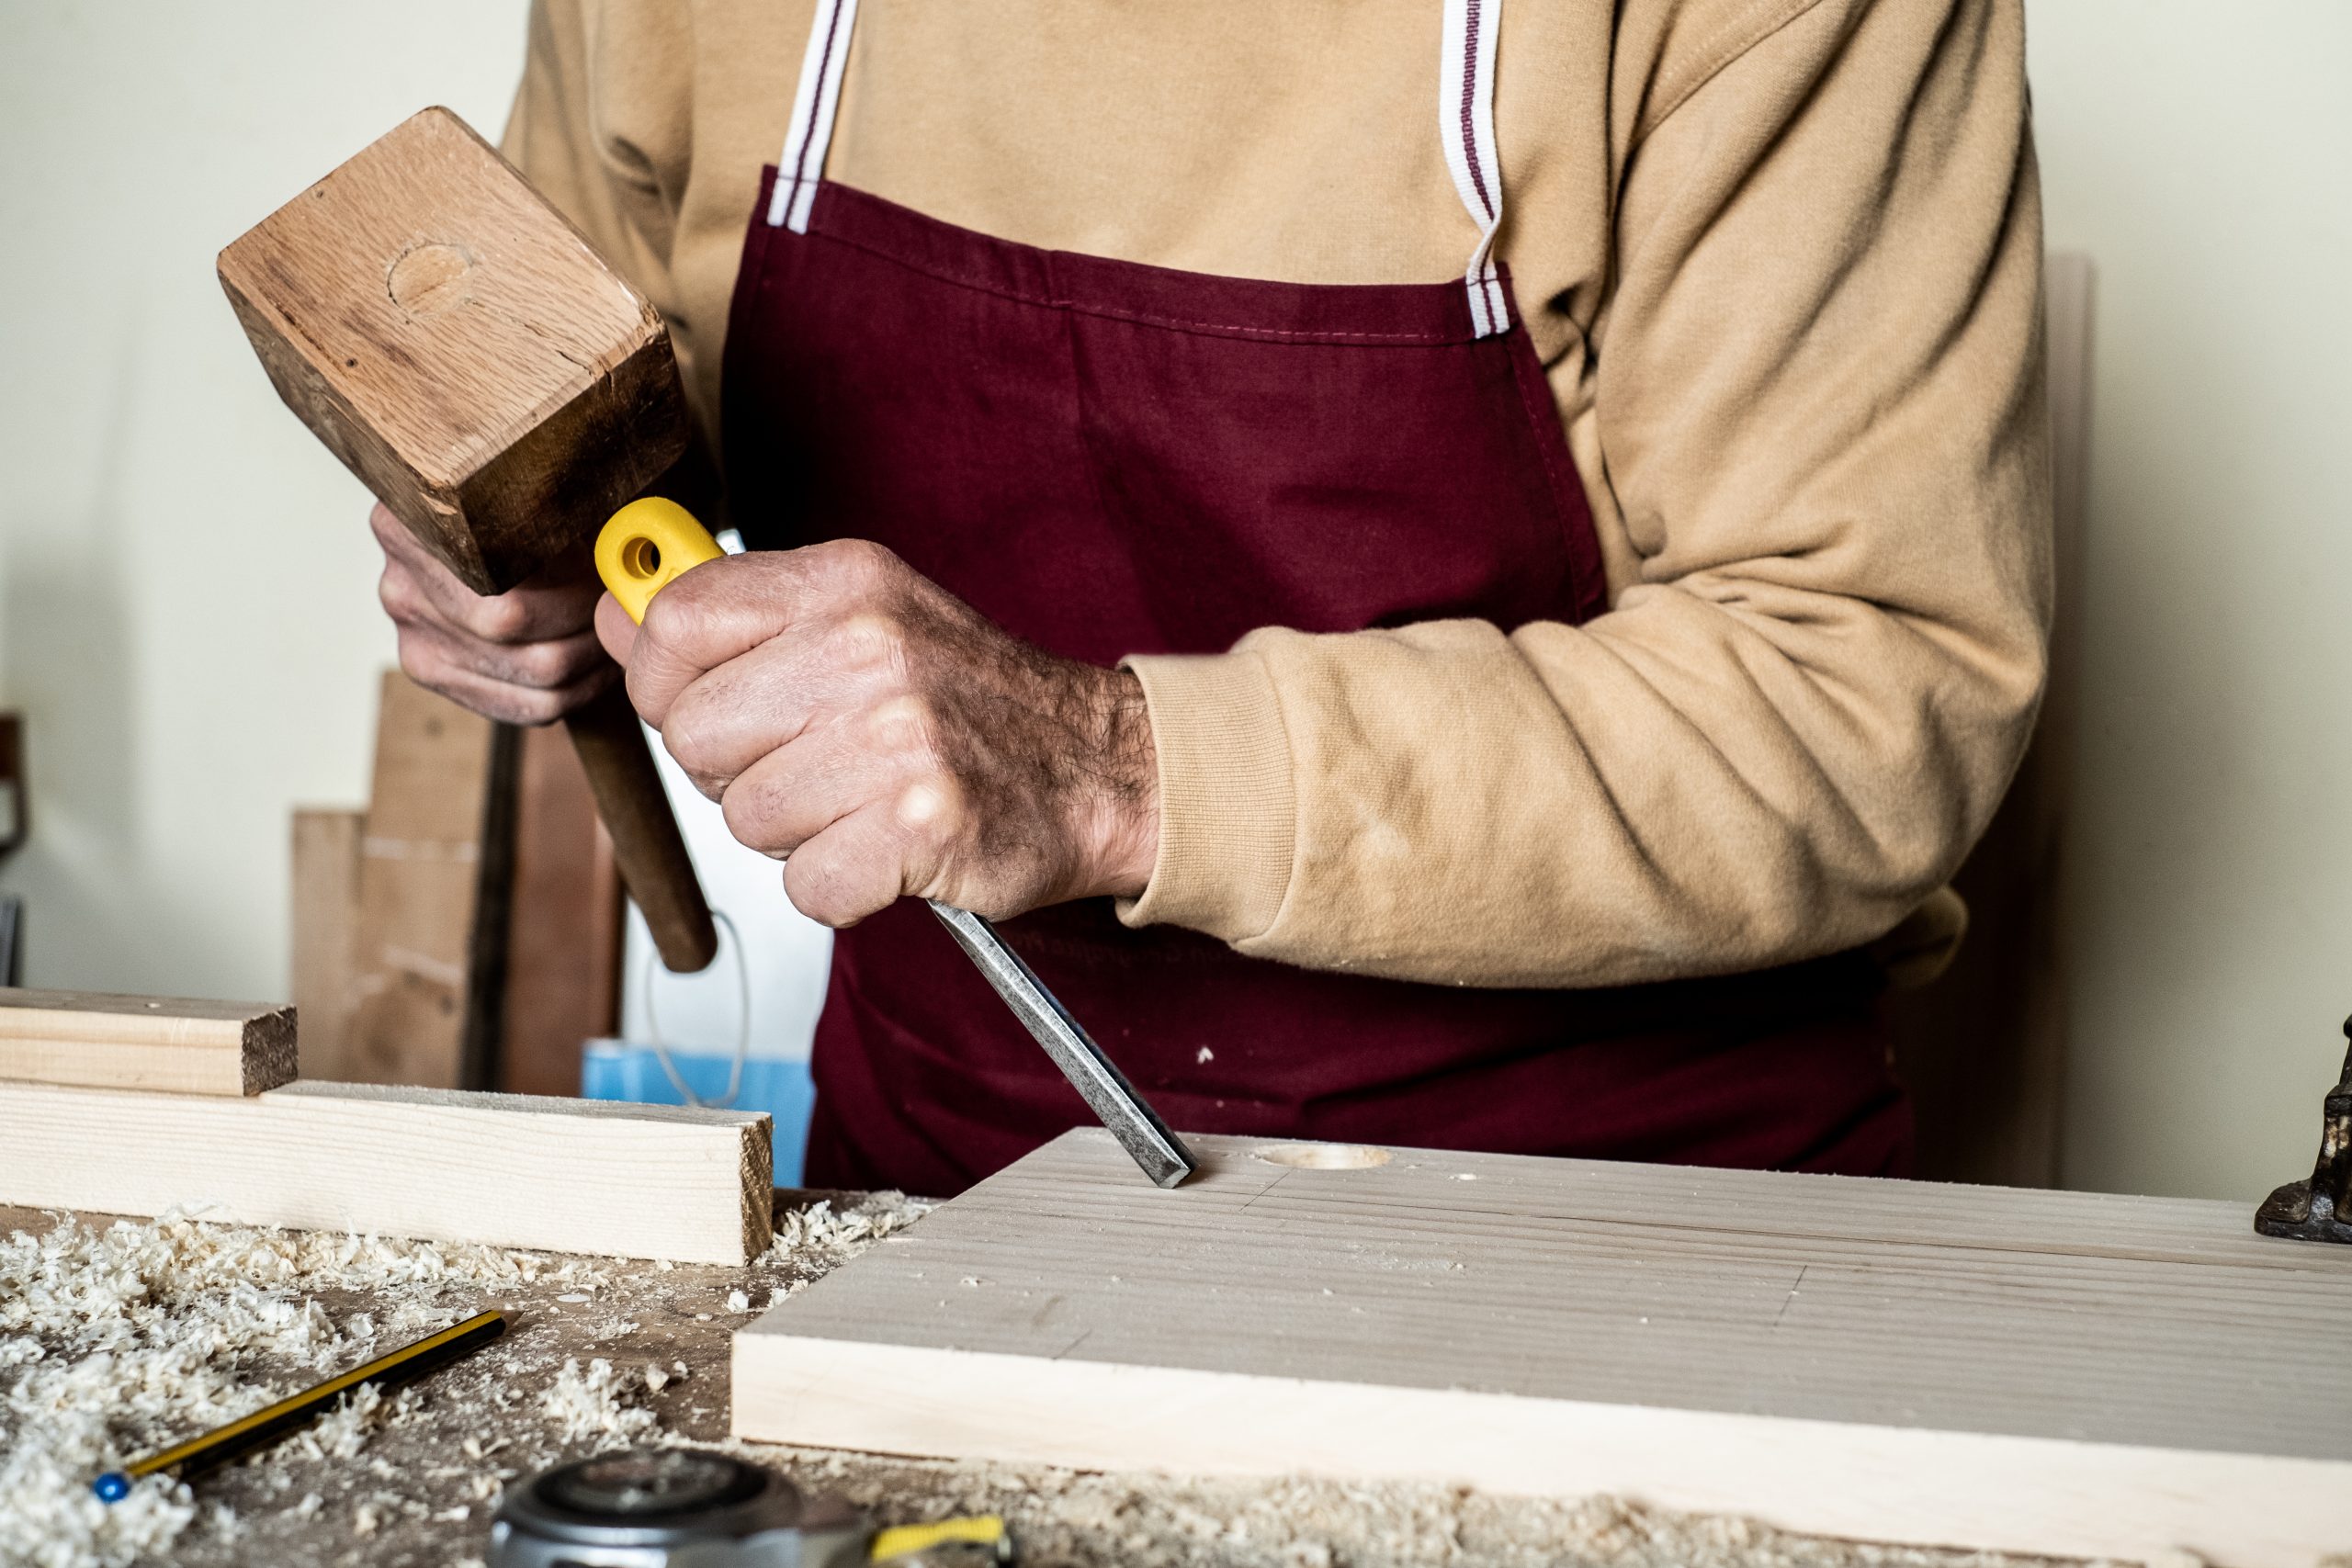
Straight Chisels

Straight chisels are available in a range of sizes. The more robust of these chisels can be used with the aid of a mallet.
However, I suggest you avoid using a mallet on initial projects and stick to the more delicate hand chisels at the outset.
As my old-time teacher would growl while watching impatient novices hasten to remove stock, ‘Two small cuts are always better than one big one.’
Chisels can have a single or double bevel.
The single bevel is the traditional shape of chisels used in carpentry, while the double bevel lacks the tendency to dig into the wood.
Most carving tool manufacturers use a numbering system to identify the shape of the cutting edge.
Number 1 chisels are straight-edged, so the cutting edge is ninety degrees to the shaft.
A number 2 chisel will have a sixty-degree angled cutting edge typically used for slicing.
Skew chisels are usually bevelled on both sides.
Gouges
If your design calls for hollowing out certain sections of your stock, then a gouge will be the ideal tool to do this.
Various gouge sizes are available, and they all create a shallow hollow depending on the chisel’s width.
Unlike the straight chisel, using a gouge is very much like a scoop.
However, to prevent the wood from tearing, it is a good idea to make the cut from both sides, and to drive into the wood from both ends and meet at the deepest point.
So, if you are creating a hollow for a spoon, it would be best to start your gouge from the handle side and, move to the centre of the hollow.
Then, turn the spoon around and make the second cut from the end of the spoon back towards the handle side, meeting the first cut at the deepest part of the hollow.
To get back to the numbering system, as we move through gouges three to ten, the depth of the hollow increases.
So, a number three gouge will create a shallow cut, a number eight will present a deeper hollow, and a number ten will create a hollow with steep sides.
A number eleven gouge is often called a Vainer because it has traditionally been used to create veins in carved foliage.
The V Chisels
These gouge-like chisels have angled profiles ranging from thirty to ninety degrees.
A complete set of V chisels would contain a thirty, forty-five, sixty, and ninety-degree chisel
But to start, a forty-five and ninety-degree pair would meet your requirements.
The numbering system for V tools ranges from thirty-nine to the mid-forties.
As the name suggests, V chisels create a ‘v’ shaped cut in the wood.
Although it is possible to use the V tool as a normal chisel by simply using one side of the chisel to cut.
Chisels with a curved profile
A Spoon Gouge is an excellent example of a chisel that is curved to allow for creating a hollow.
The curve of the blade makes it easy to remove stock from inside bowls or to hollow out a spoon.
Are There Different Handles For A Chisel?
Traditionally, carving chisels have three types of handles.
Palm Handles
These are short, stocky, and well-rounded handles designed to be comfortably held in the palm of your hand. They are excellent for smaller work details.
Straight sided handles
These handles are designed to be held in the hand using the fingers to keep the chisel securely in position.
Sometimes, the handles are round in cross-section with a slight bulge to indicate the blade’s position.
The wooden handles of these chisels do not have a metal ring at the handle end.
This indicates that they are not intended to be used together with a mallet.
Handles with metal rings at the end
If you use a mallet to assist in removing wood, you will require chisels with protected handles.
The protection is usually a metal ring that prevents the wooden handle from mushrooming and eventually splitting.
Take care when using the mallet. Small, gentle taps are much kinder and less painful should your eye wander from the handle to the cutting edge.
Sanding Down and Smoothing Off.
Using wood like Jelutong will make the finishing-off process relatively straightforward.
However, there is one lesson I have learnt many times about finishing.
Don’t be tempted to believe you can quickly sand down imperfections to complete your project.
Instead, concentrate on getting the best finish possible with your chisels before you reach for the sandpaper.
You can remove errant ridges and high spots much quicker with a couple of accurate chisel passes.
So practice getting the surface to the best possible finish using your chisels.
Wood Carving For Beginners – Conclusion
In my conclusion of Wood Carving For Beginners: A Step-by-Step Guide, the skill of oriental relief carvers has created works of incredible sophistication and detail.
Almost every culture has placed a reverent recognition of the abilities of wood carvers.
Here is your opportunity to take your time and create a piece of unique beauty, even if your first attempts may lack the delicate detail of an experienced craftsman.
Wood Carving For Beginners – Frequently Asked Question
 Is Wood Carving an expensive hobby for Beginners?
 Is Wood Carving an expensive hobby for Beginners?
Happily, wood carving can be an almost free hobby.
Most woodworking shops will have a collection of off-cuts ideal for you to use to begin your carving journey.
Alternatively, driftwood is another free source of material.
A basic set of carving chisels will not break the bank, and many common woodworking tools are helpful for basic carving. You can invest in more expensive tools as your skill level improves.
Should you carve wet or dry wood?
Perhaps the question should rather be whether carving wet or dry wood is easier. Generally, wet wood allows for easier carving, but that is where the advantage ends.
So, for practising, carving wet wood is fine, but the finished product may well crack.
Naturally, with wet wood, there is no waiting period for the wood to season and carving wet wood does accelerate the drying process.
However, to limit the danger of your carved masterpiece cracking or checking, using kiln-dried wood is recommended.
If your project does crack, all is not lost. Filling the crack with wax and wax crayons is ideal for this.
You may be able to salvage your artwork, and when the crack closes, the excess wax will be squeezed out.
Do you need to use a clamp to hold your work pieces?
Modern clamps make securing your work piece easy and quick. They provide a versatility that allows positioning the wood in almost any position while allowing you to use both hands to carve.
They add an element of safety while carving, and it’s much easier to use a chisel and mallet if the work-piece is securely clamped.
To begin with, you can make use of the standard carpentry clamps, and even a couple of ‘G’ clamps can be pressed into service.
Once you have gained experience and decided to take your carving to a higher level, buying a specialized carving clamp will be worthwhile.
Did you enjoy Wood Carving For Beginners: A Step-by-Step Guide?
Here are some related articles you may also enjoy:
What Is MillWork?
How To Cut Wood Without A Saw
Crown Moldings – A Guide To A Beautiful Home
How To Increase the Price Of Your House with Millwork and Moulding

About The Author: Hi There! I’m Dave. I’m a certified millworker and carpenter, and have been working in the industry for over 10 years. I created this website to pass on my knowledge so that other enthusiasts, no matter what their skill level, can enjoy the craft as much as I do. I hope you enjoy!